
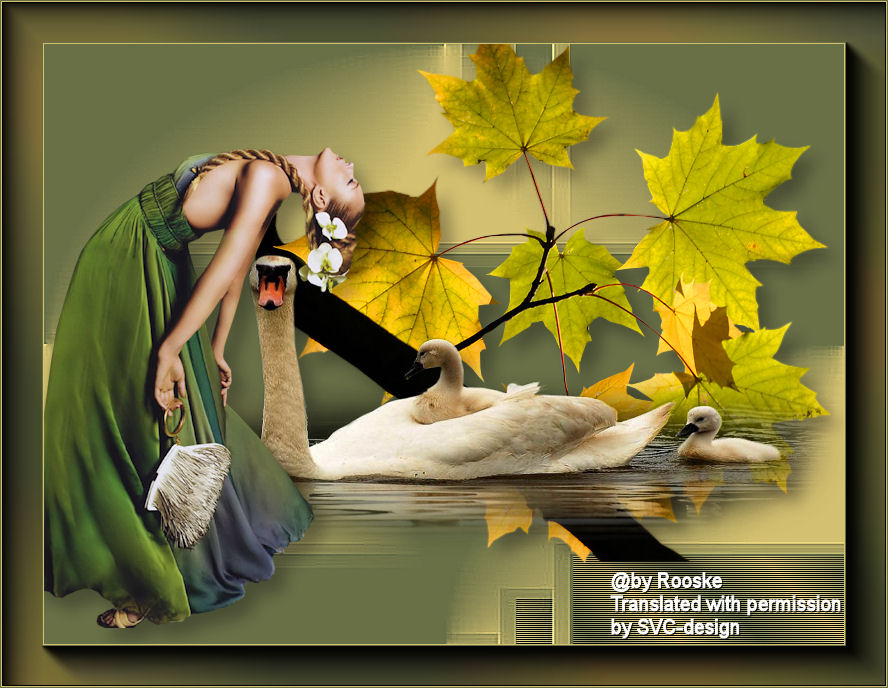
This lesson is made with PSPX9
But is good with other versions.
© by SvC-Design

Materialen Download :
Here
******************************************************************
Materials:
calguisbranche8910[1].psp
calguiscygnes24410[1].psp
calguisgreenelegant4310[1].psp
maskcameron211.jpg
rooske-sel-1 green.PspSelection
rooske-sel-2 green.PspSelection
******************************************************************
Plugin:
Plugin - Rorshack Filters - Ripleyer
Plugin - AAAframes - Foto Frame
******************************************************************
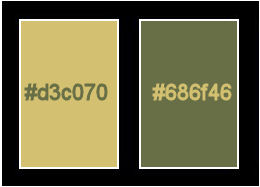
color palette
:
******************************************************************
methode
When using other tubes and colors, the mixing mode and / or layer coverage may differ
******************************************************************
General Preparations:
First install your filters for your PSP!
Masks: Save to your mask folder in PSP, unless noted otherwise
Texture & Pattern: Save to your Texture Folder in PSP
Selections: Save to your folder Selections in PSP
Open your tubes in PSP
******************************************************************
We will start - Have fun!
Remember to save your work on a regular basis
******************************************************************
Foreground: #d3c070
Background: #686f46
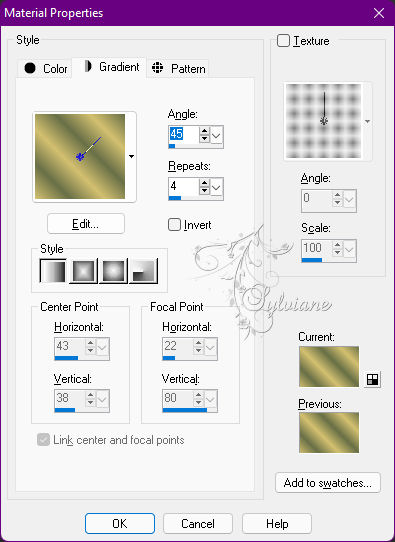
Gradient: Linear -angle 45-repeat 4
1.
Open a new transparent image 800 x 600 pix.
Fill with background.
Layers - new raster layer
fill with foreground.
Layers – new mask layer - from image - maskcameron211.jpg
Layers - Merge - Merge Group
Effects - Edge Effects - Enhance
2.
Layers - new raster layer.
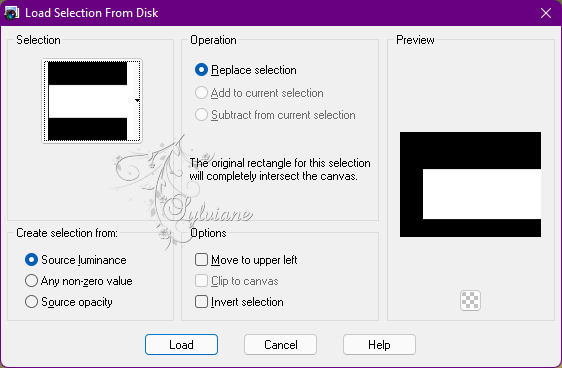
Selections - Load / Save - Load selection from disk - rooske-sel-1 green.PspSelection
Open calguiscygnes24410[1].psp
Edit – Copy
Edit - Paste into selection
Selections - select none.
Adjust - sharpness - sharpen.
Effects - 3D effects - drop shadow
12/12/30/22 color:#000000
Open calguisgreenelegant4310[1].psp
Edit – Copy
Edit - Paste as new layer
Resize the tube with 75%, uncheck Change all layers
put her on the left like my example.
Effects - 3D effects - drop shadow
12/12/30/22 color:#000000
3.
Activate the bottom layer.
Layers - new raster layer.
Selections - Load / Save - Load selection from disk - rooske-sel-2 green.PspSelection
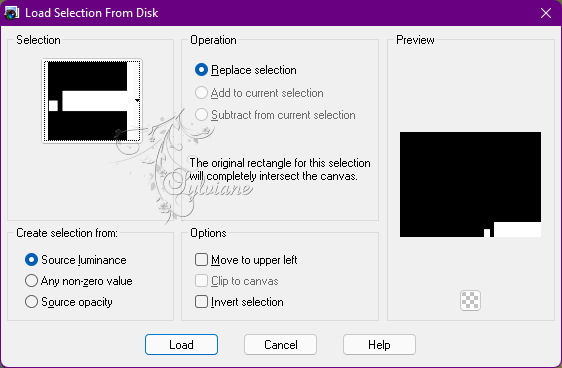
Set your foreground to gradient.
Fill the selection with gradient.
Selections - select none.
Plugin - Rorshack Filters - Ripleyer
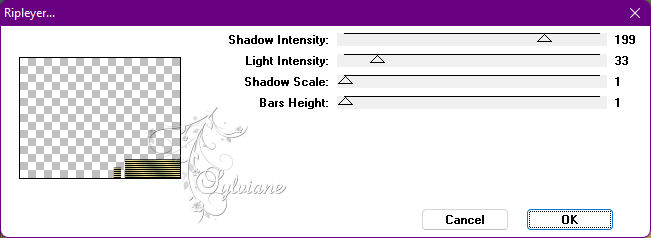
4.
Activate the bottom layer.
Open calguisbranche8910[1].psp
Edit – Copy
Edit - Paste as new layer
Slide them as in my example.
Effects - 3D effects - drop shadow
12/12/30/22 color:#000000
5.
Layer – merge – merge all (flatten)
Image - Add Borders – Symmetric - 1 px -color: foreground
Image - Add Borders – Symmetric - 1 px - color background
Image - Add Borders – Symmetric - 40 pix color foreground.
Select the wide border with your magic wand.
Fill the border with gradient.
Plugin - Rorshack Filters - Ripleyer - settings are correct.
Plugin - AAAframes - Foto Frame
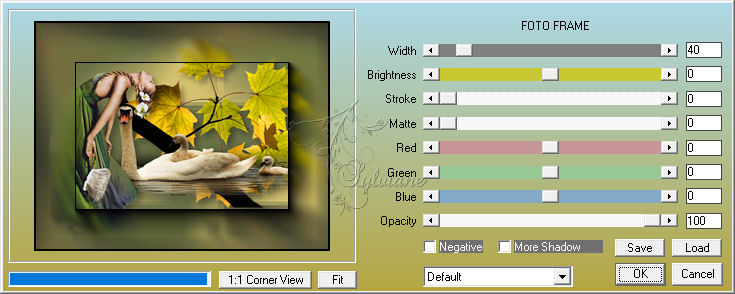
Repeat the filter 1 more time.
Selections - select none.
Image - Add Borders – Symmetric - 1 px - color background
Put your name on your creation and make it custom, maximum 600 pix. longest side.
Save your work as Jpg.
Back
Copyright Translation © 2022 by SvC-Design